
One provider is simplest.
You can leave other password managers switched on, but you’ll be asked to pick one every time you sign in. Turning the others off keeps Ultravault as the only suggestion.
Let Ultravault fill your passwords and passkeys in apps and web browsers. It takes one switch in Settings on each device, and about thirty seconds.
That’s it. When you sign in to an app or a website in Safari, Ultravault offers the matching login or passkey. Using Chrome, Brave, Firefox, or Orion? Add the Ultravault browser extension too. Coming soon after launch.
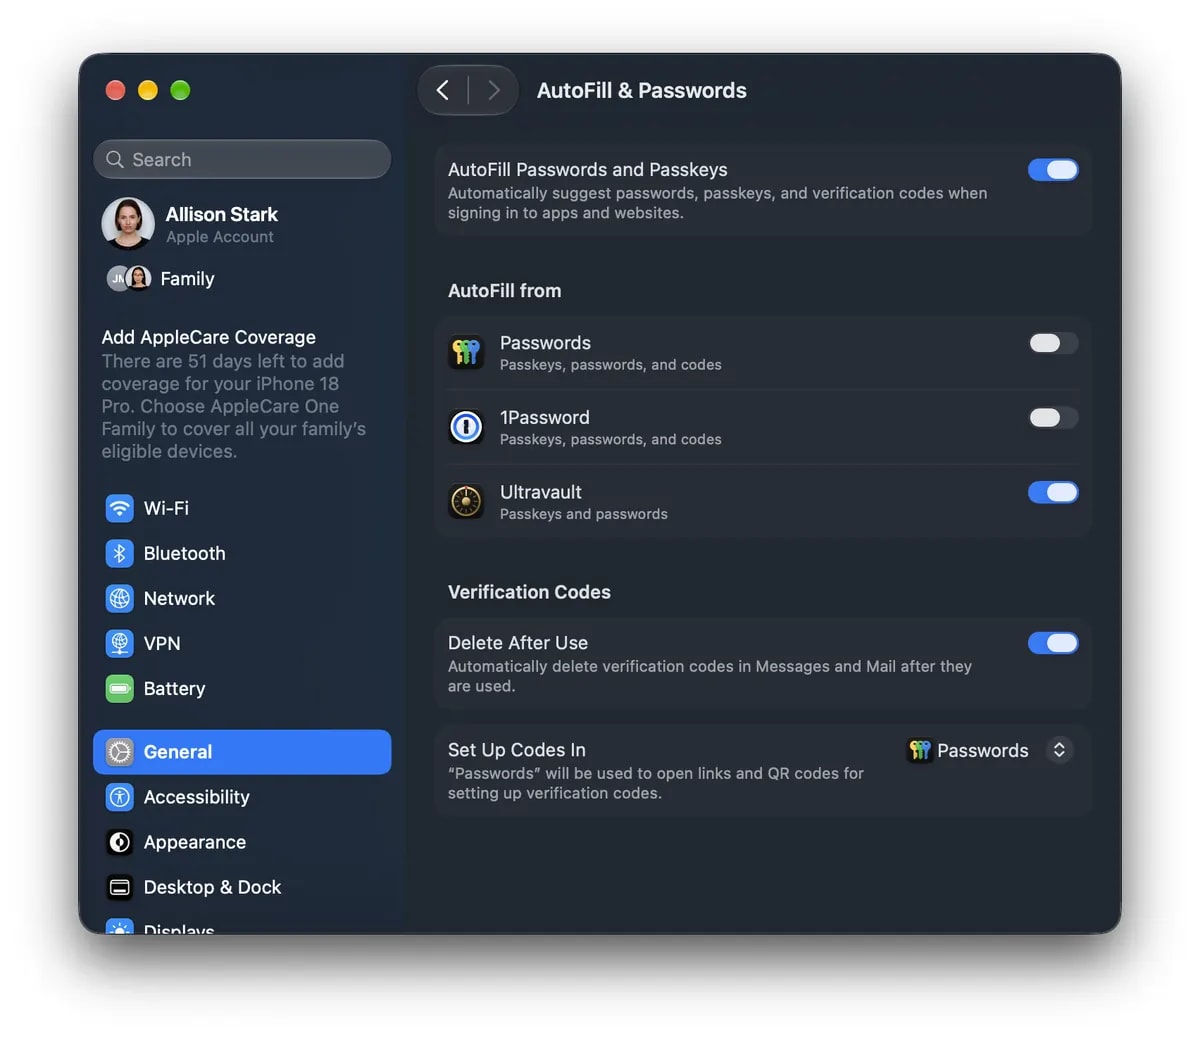
Now Ultravault shows up above the keyboard whenever an app or a website in Safari, Chrome, or any other browser asks you to sign in.
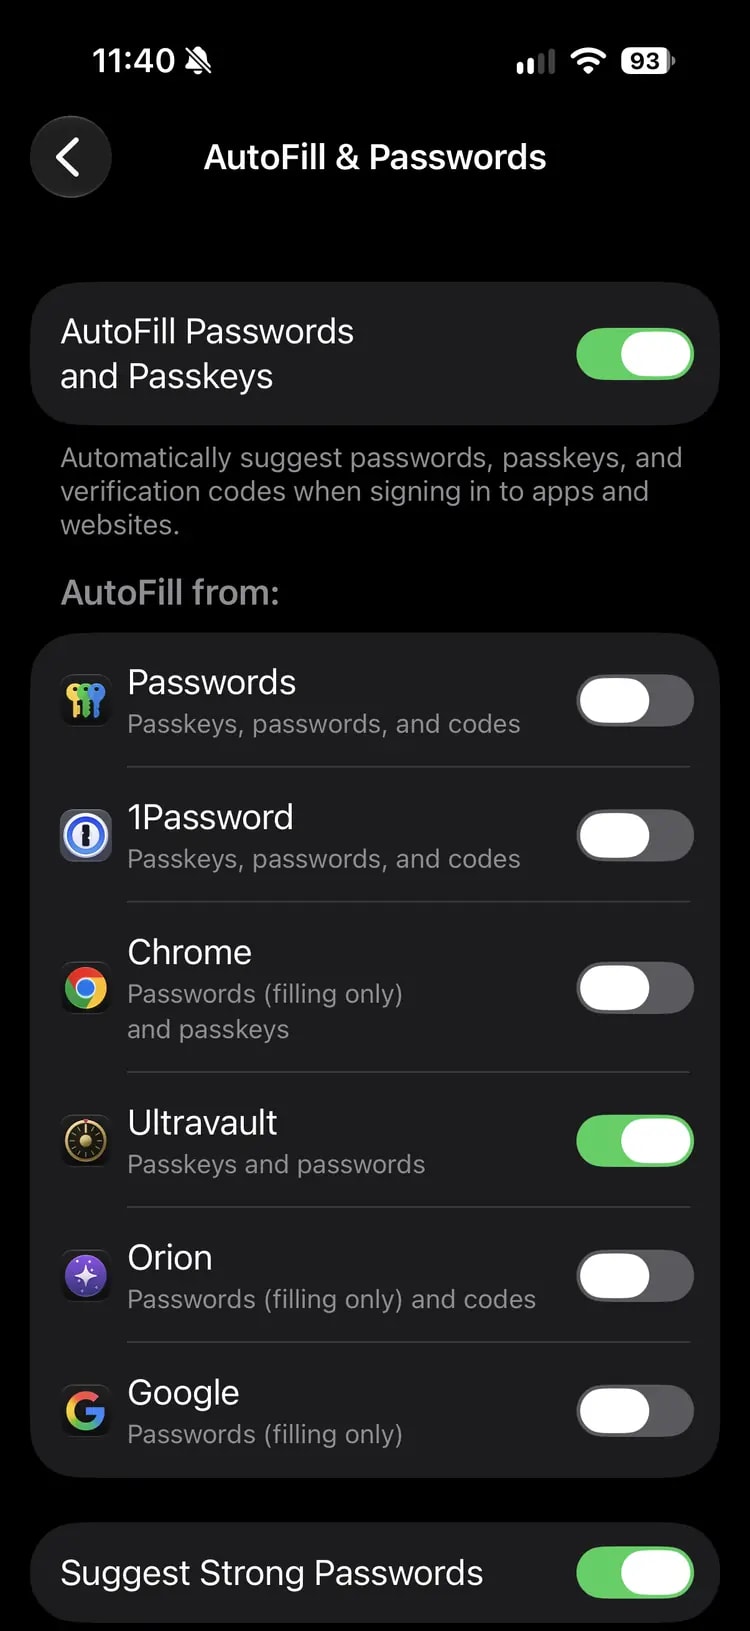
You can leave other password managers switched on, but you’ll be asked to pick one every time you sign in. Turning the others off keeps Ultravault as the only suggestion.
AutoFill is set per device. Flip the switch on your Mac, your iPhone, and your iPad, and turn on iCloud sync in Ultravault if you want the same vault on all of them.
Moving from 1Password or another manager? Import a .1pux file or a CSV export into Ultravault, then switch AutoFill over so nothing goes missing.